Showing posts with label DIY projects. Show all posts

Wednesday, March 7, 2012

A Barn Window

I promised a blog post on our re-purposed barn window from the 50's!  We purchased it from the same antiques store as the shutter.  We got smokin' deals on both ideas.  Here it is - later than I promised - but it still made it to the blog!  :)
 AFTER:

BEFORE:

 Sanding - don't mind dean's "deformed" hand  ;)


Taping the glass off!

Priming the window

Painting

Some "Antiquing" to the window


Window hanging (waiting for pictures)

Happy Hump Day!  :)

Tuesday, February 21, 2012

Re-purposing a Shutter

D and I decided to hit some antique shops this past weekend in Olathe.  We've both been wanting to "work on" something and decided to go for it!  We found ourselves a couple projects:  The first being a shutter and the second is on old Barn window from 1952 (that I will blog in the next week).  The shutter is finished so thought I'd share.

AFTER:
Yes, we turned it into our mail organizer.

BEFORE:


Doing some sanding! 

Used a little primer!

After a little paint we've got the finished product!

 We did some antiquing to the shutter!


Monday, November 14, 2011

DIY No-Sew Pillows

Easiest pillows - EVER.  I found this tutorial that required zero sewing and I was in.

4 things you will need:
1. Pillow of your choice
2. Fabric of any sort
3. Measuring tape
4. Scissors

It doesn't really require a measuring tape if you have enough fabric that you can figure out the cuts by simply using your pillow.  Here's an example: My pillow's dimensions were 20x20 so you simply do three times as wide as your pillow, and twice as tall as your pillow.  Using this formula I needed my fabric to be 60w x 40h. So, you can get to these measurements by using a measuring tape, or by spacing your pillow on your fabric.

Steps
1. Lay your pillow on your cut fabric

Yes - Molly jumped into the picture! 

2. Fold the bottom half of the fabric (do the bottom first in order to make sure that the fabric doesn't fall open once tied)


3.  Fold top half over bottom


4. Next fold the ends together, kind of like wrapping a present, or a tootsie roll.  


5. Lay each side over each other. Then to finish, tie the sides into a knot. Then knot again.  END RESULT!


I'm still deciding if I like the fabric I picked.  What do you think?


Monday, August 22, 2011

Monogram Wreath

I got this idea off Pinterest to make a wreath with my NEW last initial "S" - so I made it this weekend!  The picture below is the picture I found from Pinterest.

I figured since we currently don't own a home - we should use our initial instead of our apartment number.

Items you need:
  • Wreath
  • Your initial or house number
  • Spray paint
  • Flowers and or ribbon
  • Hot Glue and Hot glue gun
  • Wreath door hanger


 The finished product.


Monday, August 1, 2011

Wedding Card Holder

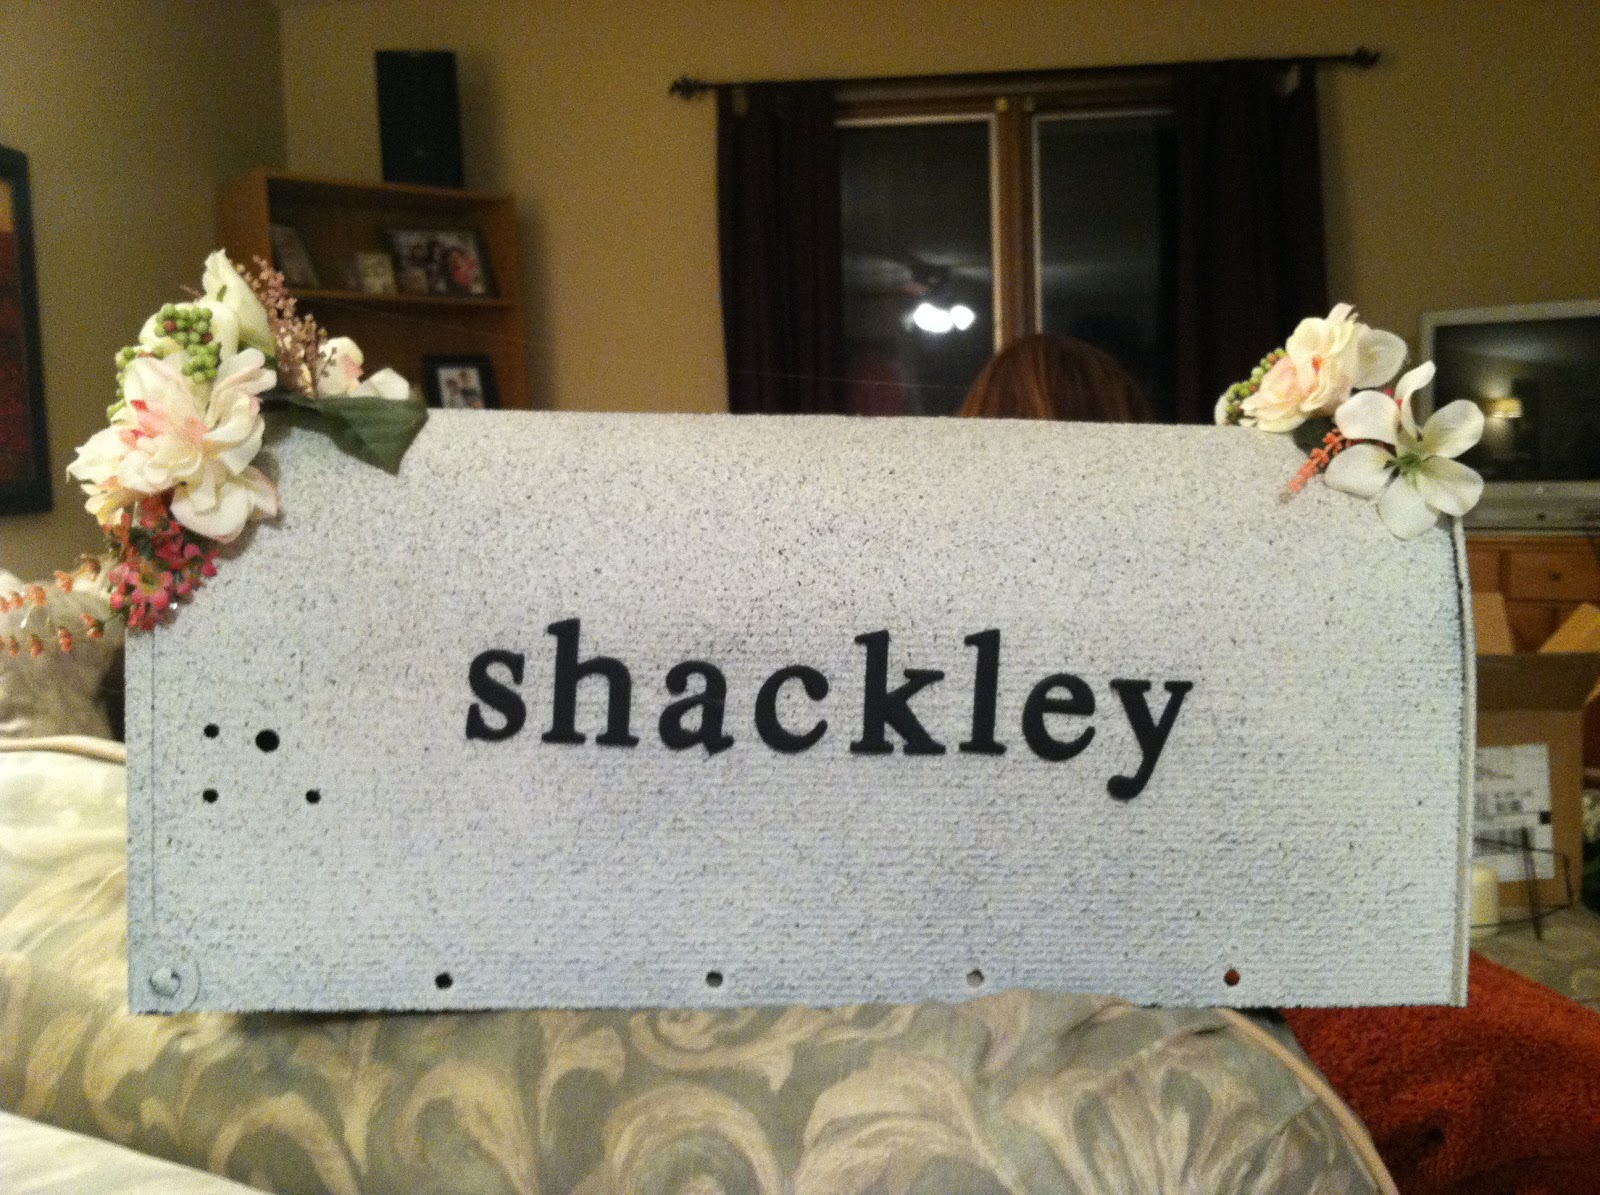
Dean and I wanted to be creative with some of our DYI projects for our wedding.  We came up with the idea of re-making a standard mailbox so our guests could "mail" us there cards.  It just required a few tools: mailbox, spray paint, saw, wood letters, hot glue gun, and some flowers for pretties.  

 Steps we took to make the transition:
1. Take the flag and all parts off the mailbox 
2. Pick the color of spray paint - we picked a natural stone (see below)
3.  Spray paint the mailbox
4.  Use and electric saw to cut the size you need for cards to fit thru
5.  Spray paint the flag and letters (we picked a flat black)
6.  Hot glue the letters and flag on the mailbox
7.  Lastly we hot glued the flowers on and hot glued the mailbox door shut

The finished product (minus the flag) we lost it after the wedding


We were happy with how it turned out.  So instead of buying a $40-$60 bird cage, we have a $12 mailbox that we now use as decoration in our home.